
What makes Helios 44 so special? Why are DOP’s and filmmakers drawn to using this old lens? Is it the swirly bokeh, the lens flare or is there something else?
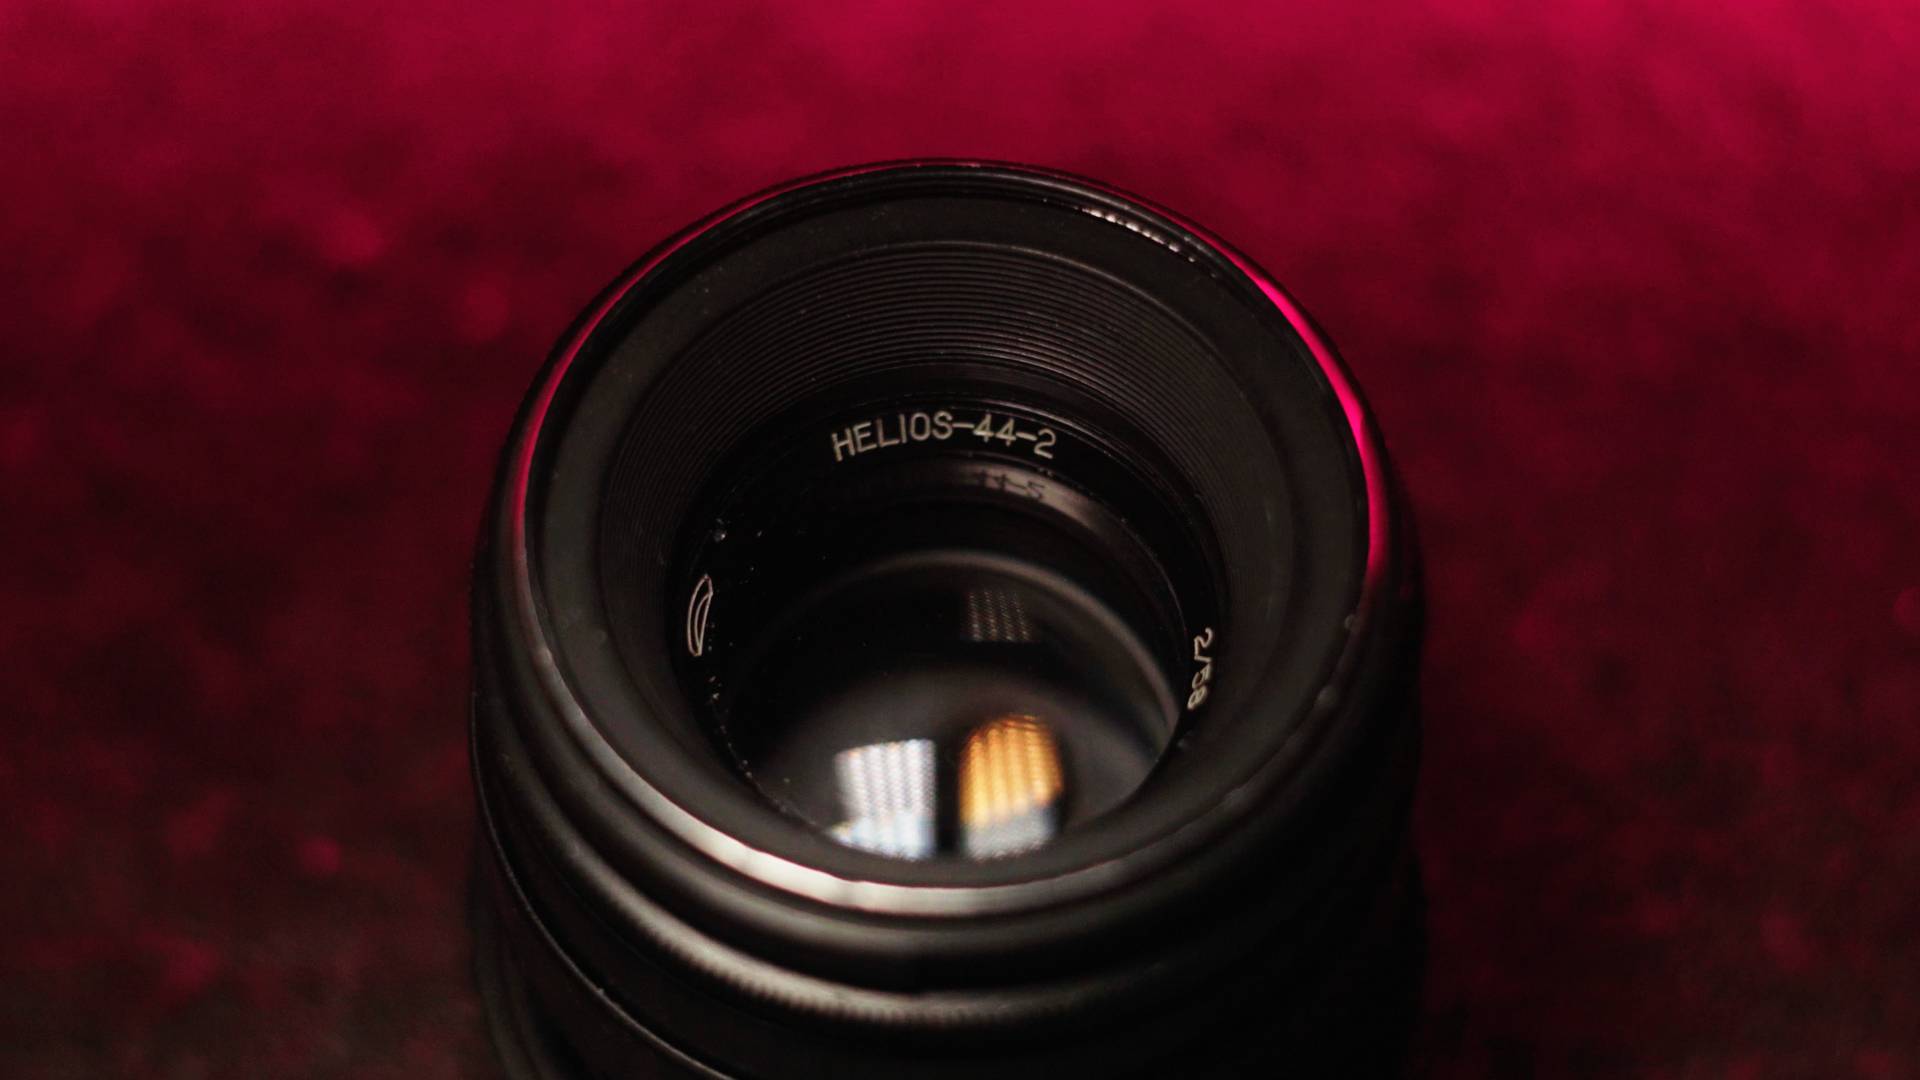
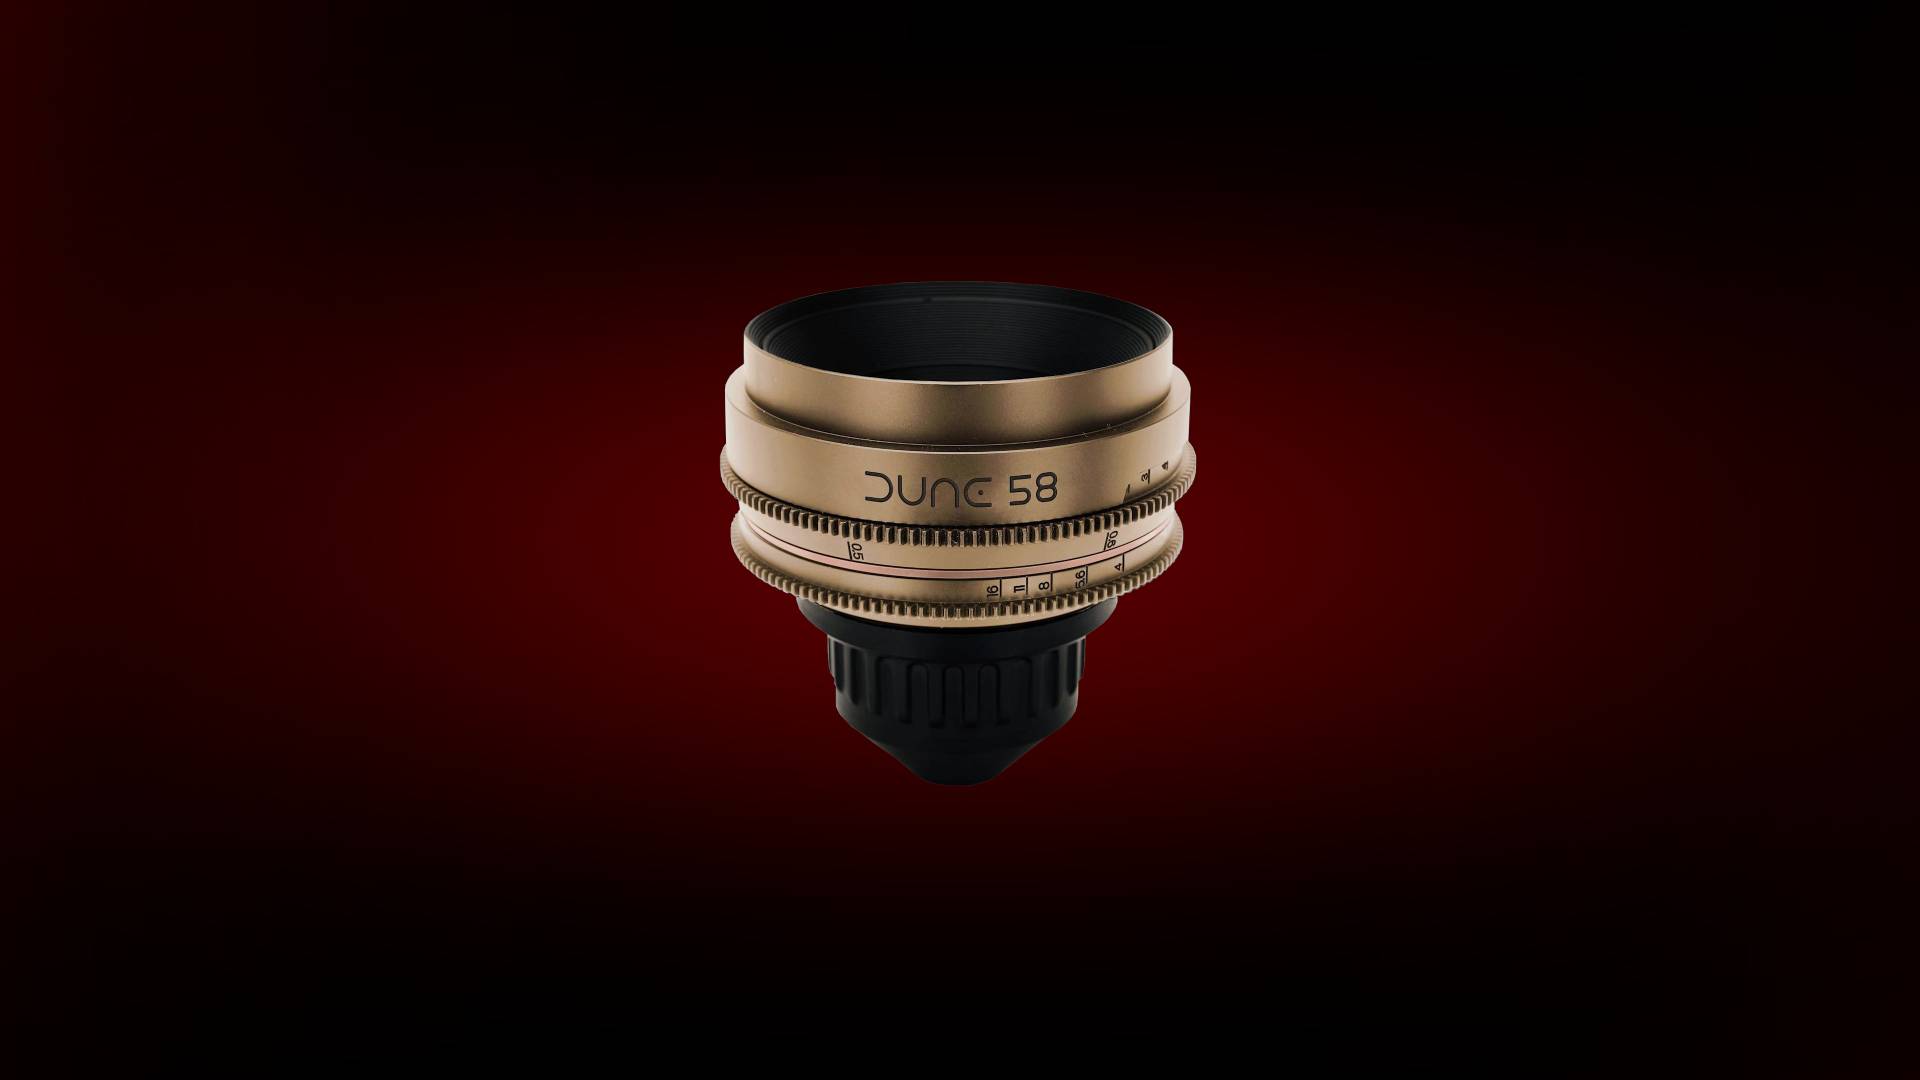
I own two versions, the Helios 44-2 and the Helios 44M, which I am going to test and find out why DOP’s like Greig Fraser are drawn to using the much more expensive rehoused version by Iron Glass, which was used on Dune part 2, the Creator and in car chase scene in the Batman.
Now a brief history about the Helios 44-2, it is basically a Soviet Clone of the much older Zeiss Biotar design from 1927. But because the Helios has such a long production run, from 1958 till 1999 and there are many versions of this lens available, though there are many speculations which is the best version to get, the more recent version of 44M6 and 44M7 are the sharpest versions you can get. You can still easily find many versions of the lens sold for an affordable price from 50 to 150 bucks as they are still flooding the used lens market and you can find affordable cine modded versions of them too.
The Helios 44-2 being 58mm is an ideal focal length for portraits or medium to close-up shots for filmmakers, it being 8mm longer than your normal nifty fifty, just that extra reach allows it to have a more shallow DOF compared to a 50mm f2. However on full frame your subject needs to be positioned close to the middle of your frame as image gets softer to the sides, you have to avoid using the 20% of the left and right side. While with a S35 crop, it’s much less of an issue as the soft sides get cropped out.

Though the basic form of the Helios 44-2 isn’t ideal for film productions, I have modified both in my own way. First I bought some proper M42 to EF adapters, this is the only version you should get as it properly pushes down the pin and allows you to align the lens correctly, so the iris and focus marks are at the normal spot and not all over the place, which can happen with cheaper M42 adapters. I choose to adapt to EF, which can be easily adapted to many camera mounts and mirrorless cameras.
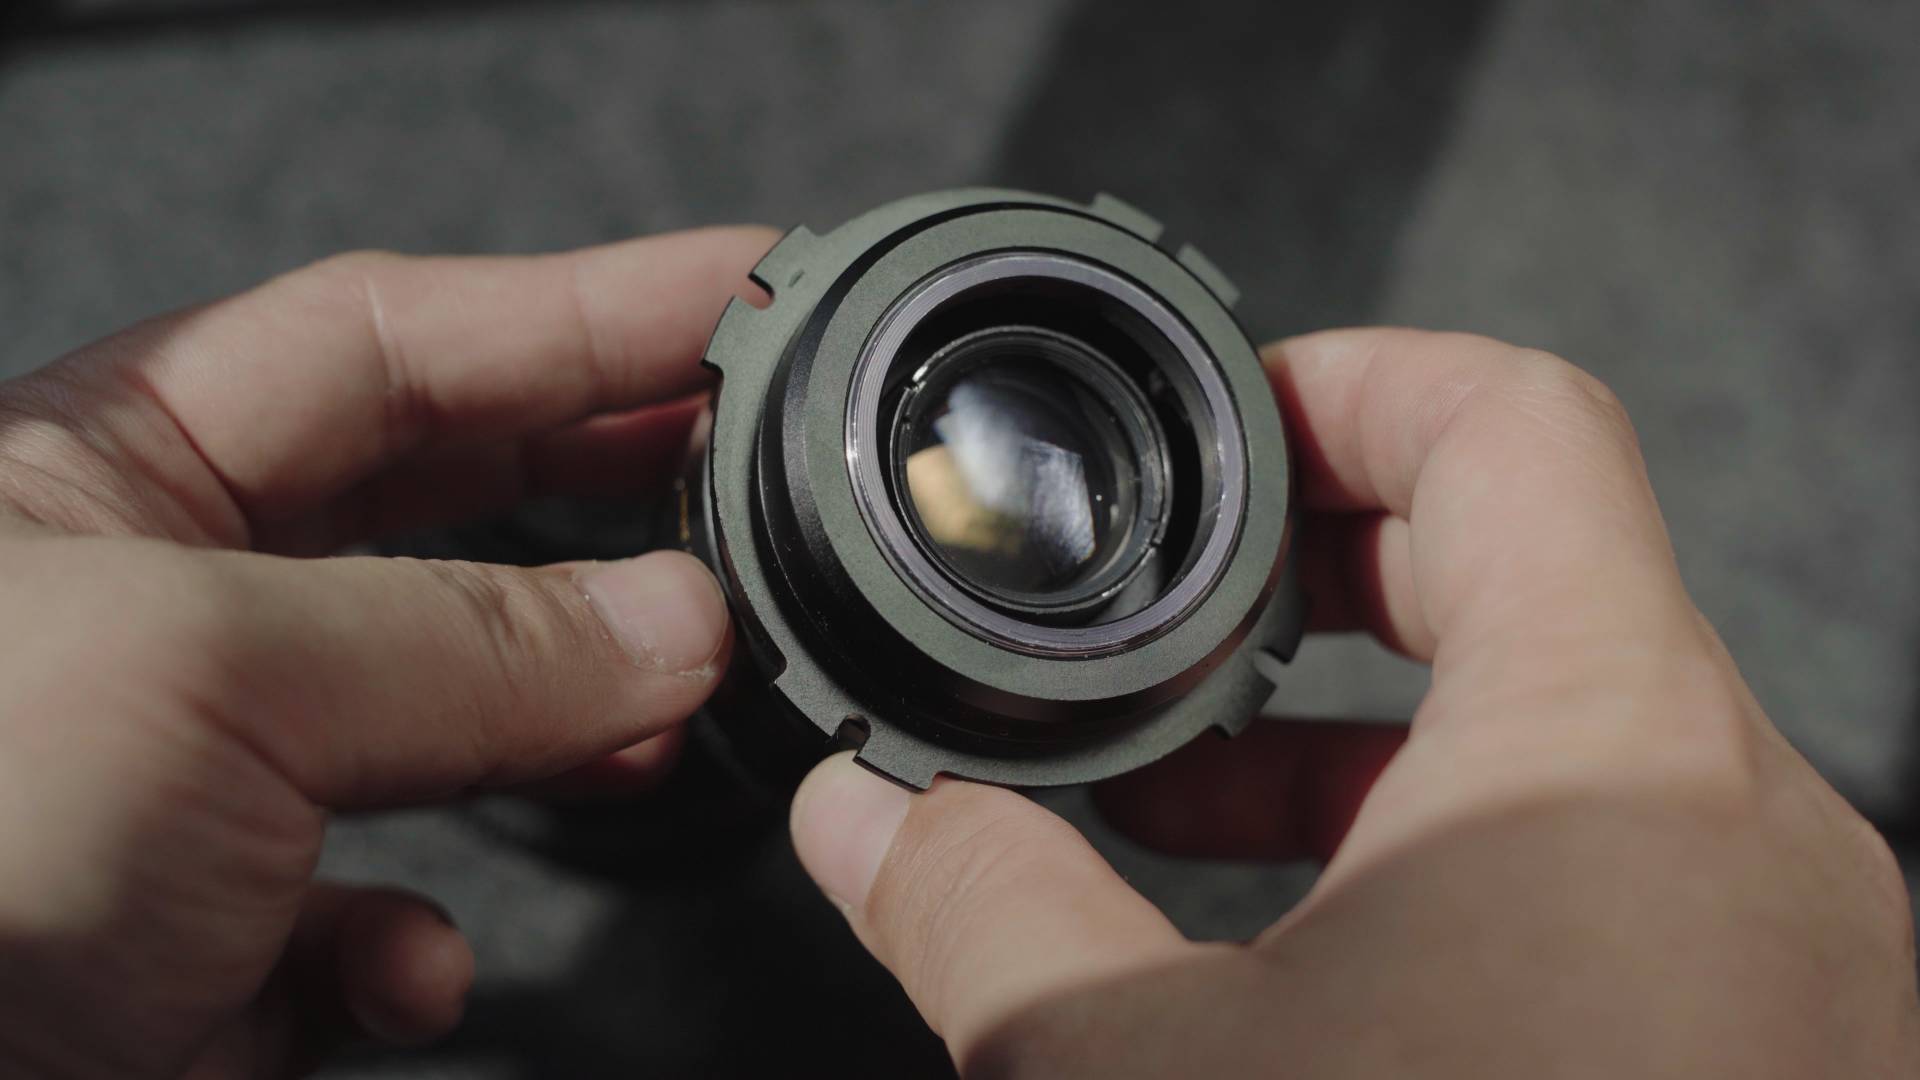
And if you want to use the Helios 44-2 on a cinema camera like Arri, you can adapt it with a M42 to PL mount, however the 44M model can’t due to the wider rear design and there is only a handful of M42 lenses which can be adapted to PL without any modifications.
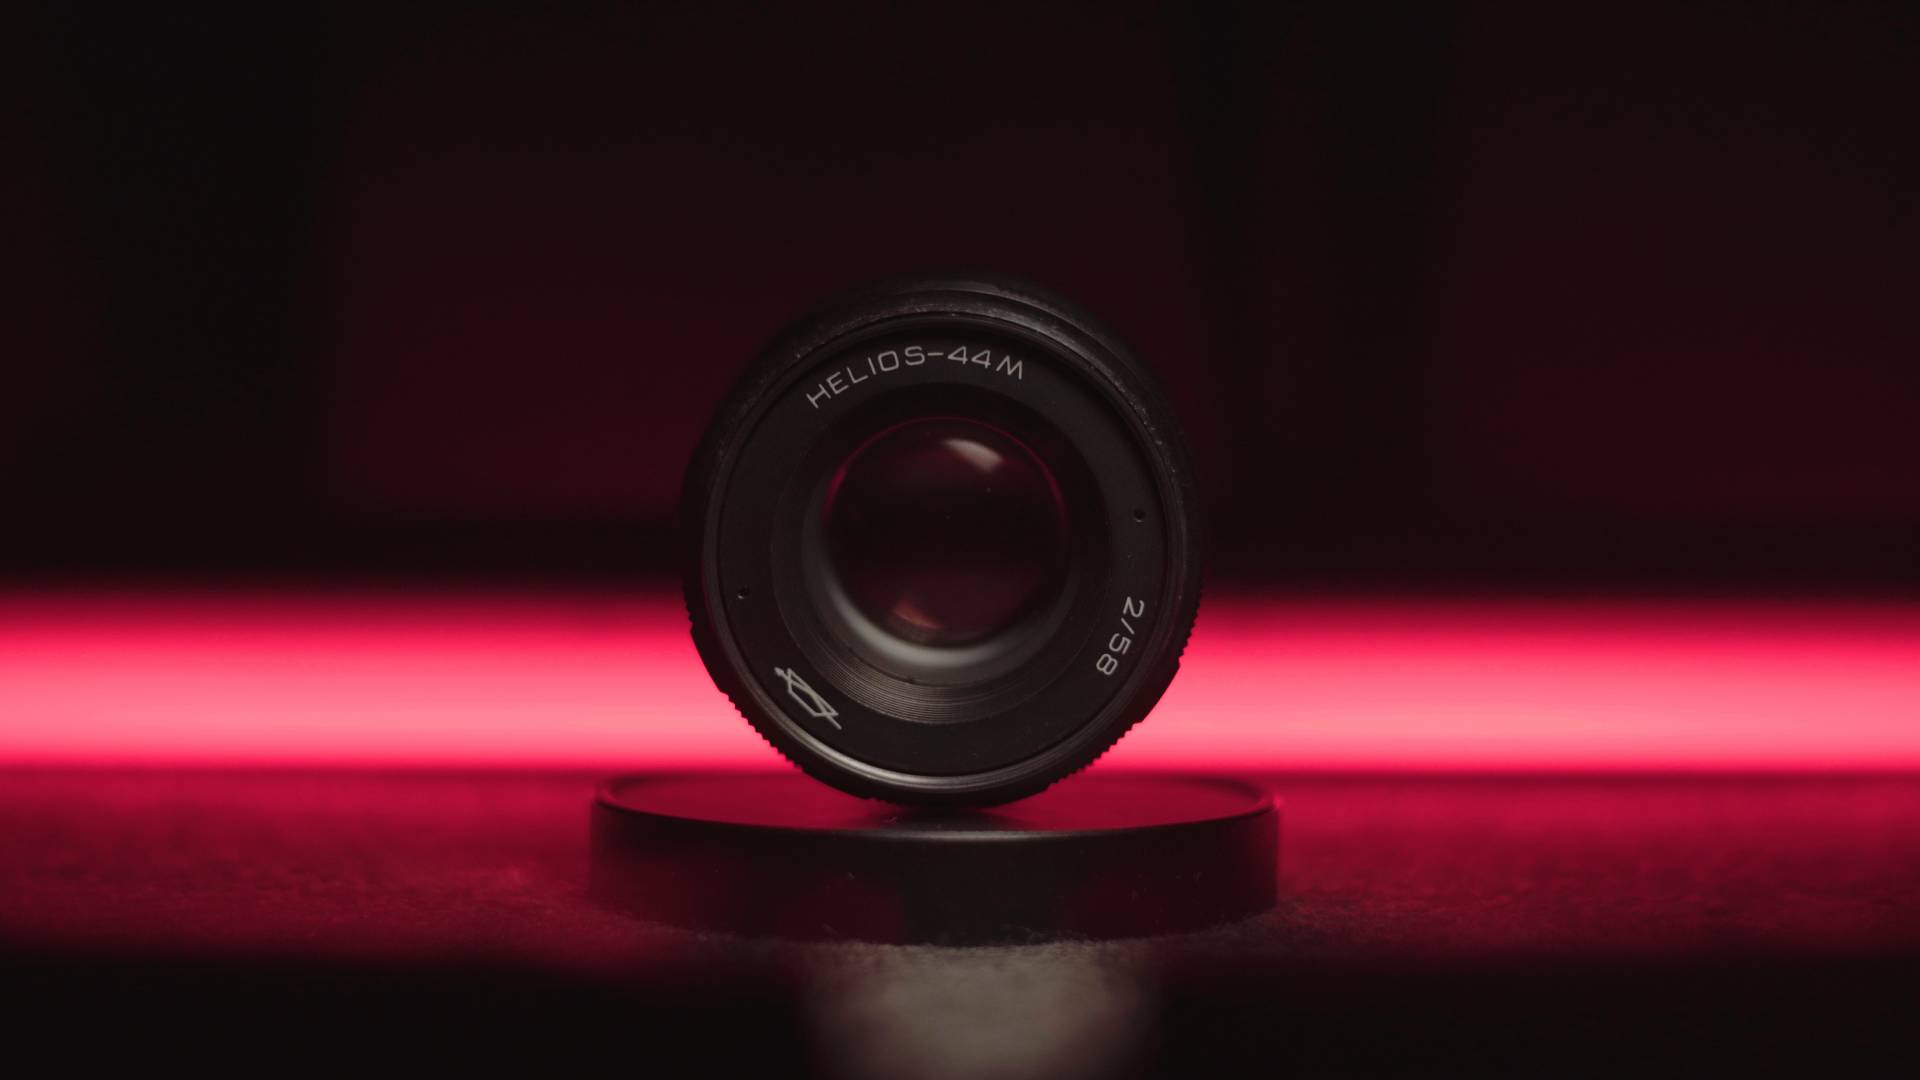
Then I got some Tilta seamless gears, because the focus ring rotates 270 degrees, which is great for getting accurate focus. For Helios 44-2 you need the size of 56 to 58mm diameter version, while the Helios 44M needs the bigger 59mm to 61mm seamless gear rings.
The other difference in these lenses are the front filter thread, with the Helios 44-2 its 49mm , while the Helios 44M has a 52mm filter thread. Because these lenses are prone to lens flares and oh boy it’s not a bit of flares, but a whole bunch. Even when the sun is not in the shot, it can still cause annoying milky haze creeping into your shots when you don’t want them, that’s why I bought lens hoods for them which both have an opening with 72mm thread, which allows me to add 80mm O.D. ring on top to unify it with the rest of my lenses. This setup does not only help with lessening lens flare, but also allows me to add a clip-on a lightweight matte box, like the Smallrig Mini Matte Box. But having a matte box flag can make a big difference getting a nice contrasty shot vs one that looks washed out as if you are using a heavy promist on the lens.
Though some of the haze or light leaks disappears when you stop down the lens to f2.8, it is mostly caused by light hitting the side of one of the lens elements as looking into the lens you can spot a bright ring. Though at first I totally despised the flaring as it got in the way of doing certain lens tests, by day two I was already trying to see if I could use the flares to my advantage to create interesting shots.
By day 3 it taught me not only to totally embrace the flares, but to control them. In this shot the iris is wide open and can notice it flares too much, while close down it just doesn’t flare enough, but then I learned by racking the iris I was able to control the flares.
There are 2 ways you can look at the flares and the haze and it depends on the film project. For example if you are filming a romantic scene with a summer vibe and having this extreme flaring would be a fitting look, also can make some dreamy looking shots.
But if you avoid shining lights into the lens or stopping the lens down to f2.8 you can get some high contrast images for some really dark and moody scenes.
Aiming the lens at this blue neon sign, we see that the haze takes over the blue light and could be an interesting effect when filming a colorful party scene.
Though my simple cine-mod only makes the lens much easier to work with, but still nothing compared to a real rehousing which has proper clickless aperture and more. Though the helios 44-2 already has a clickless aperture, the 44M normally does click, but I already have modified mine to be clickless which was a simple procedure or removing two metal balls behind the aperture ring. Which allows me to dial in the aperture more precisely to set the exposure with the iris. Both my Helios have 8 blade aperture which does a decent job of keeping the bokeh roundish when closing down, though the newer 44m4 and higher has 6 blades which results in quite a visible hexagon bokeh, while a rehoused Iron Glass version has 15 blades that keeps the aperture nice and round.
Talking about Bokeh we can’t avoid talking about the swirly bokeh effect of this lens, though for many people the Helios are the king of swirls, there are actually a lot more vintage lenses that also swirl but are less well known. As I have a literal case full of these lenses.
Though achieving the swirl effect does require specific conditions especially when you film a person, there is a sweet spot where you get the most optimal swirl. On the Helios 44M is marked with a dot on the focus ring, so if you set your focus there and just walk to focus, you will be able to get that swirly bokeh shot. You basically need to focus around 2.5 meters, but it also is really dependable on the things in your background as it’s easy to achieve in forest or park, but in an urban environment the swirl is less obvious.
However there is a certain texture in the blurred background. Especially when we crop the shot to a cinescope, something interesting happens as the image feels almost anamorphic due to the squeezed bokeh on the sides.
Talking about anamorphic, there are many who add an oval iris to anamorfake these lenses , where you get more oval bokeh, but from my own experience I prefer leaving it out of the Helios as its an f2 lens and the oval iris will close the iris a bit to make the oval opening and also make it slower and harder to use at night. But also for the oval disc to work the iris needs to be full open which also causes this hazy dreamy effect from all the street lights and not able to close the iris for a more contrasty look.
Using helios at night is on the edge of being too dark, as avoiding blooms and glare stopping the lens to f2.8 m
I also tried using a real anamorphic adapter with the Blazar Nero 1.5x squeeze. Though I have mixed feelings about the setup. It is not bad but also not great, because the bokeh on the side is already stretched out, the additional squeeze totally is overdoing it. Definitely not a preferred combo on this lens and prefer the spherical look more.
Remember the Helios 44-2 is a copy of Zeiss Biotar. Something that I noticed was how in certain shots objects jump out from the background and feeling these copies also retained the Zeiss 3D pop.
One thing nobody talks about is that the Helios 44-2 covers the Alexa 65 sensor and also being future proof if you ever want to get a medium format camera, but also meaning we should be able to use the lens on a tilt shift adapter on full frame without getting hit by a vignette.
And most important of all, this is the most affordable option for most new filmmakers to get their hands on a Zeiss lens and to get the Zeiss look as the Helios is a Zeiss Biotar copy. And looking at all the spherical footage I have captured, the image and color reminds me a lot of Carl Zeiss Jena lenses.
The entire set of Soviet lenses of the Mir20, Mir 1b, Helios 44-2 and Jupiter9 are all based on Carl Zeiss Jena Flektogon, Biotar and Sonnar lenses. You could just go with the original Zeiss lenses, but likely will cost you a lot more. So if you want to build a set Soviet set of Zeiss copies the Helios 44-2 likely would be one of the first lenses to get.
